Wise Agent reviews OAuth access requests manually. An administrator completes the one-time setup first; users can then connect their own Wise Agent accounts through Rollout.

Request OAuth credentials from Wise Agent

1

Open the Wise Agent OAuth section

Open the Wise Agent Developer API page. In the left navigation, select OAuth 2.0.Review the required application information and supported scopes, then select Request an OAuth ClientID and Secret.Wise Agent OAuth 2.0 Authentication section showing the required application information, supported scopes, and Request an OAuth ClientID and Secret button
2

Complete the Request API Access form

Enter the following information in the form that opens:
  • Your Full Name
  • Your Email Address
  • Name of Your Company
  • Your Job Title
  • What are the functions of your platform? Explain that Homeowner.ai syncs CRM data through Rollout.
  • Are your clients’ real estate centric? Select the answer that applies.
  • Do your clients currently use Wise Agent? Select the answer that applies.
  • What kind of integration are you looking to build? Describe the Wise Agent and Homeowner.ai integration and include the production redirect URI shown below.
  • This integration involves an AI Model: select this checkbox because Homeowner.ai includes AI functionality.
Complete blank Wise Agent Request API Access form showing every required company, platform, customer, integration, and AI-model field
3

Include the redirect URI and scopes

Include this production redirect URI in the integration description:
Request these OAuth scopes:
Before submitting, confirm that the redirect URI is exact and that every required scope is included.
4

Submit the request and configure Rollout

Select Submit. Wise Agent reviews the request manually and sends the Client ID and Client Secret after approval.Store the Client Secret in your password manager, then enter both values in the Wise Agent OAuth configuration in Rollout. Treat the Client Secret like a password.

Connect a Wise Agent account

After the OAuth application is configured, connecting an account usually takes about two minutes.
1

Start the secure connection

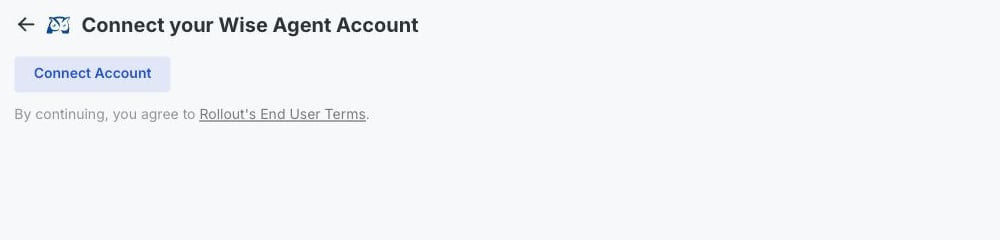
In the Rollout-powered connection window, select Connect Account.
The Rollout-powered Wise Agent connection screen with the Connect Account button
A mobile close-up of the Wise Agent Connect Account button
2

Sign into Wise Agent

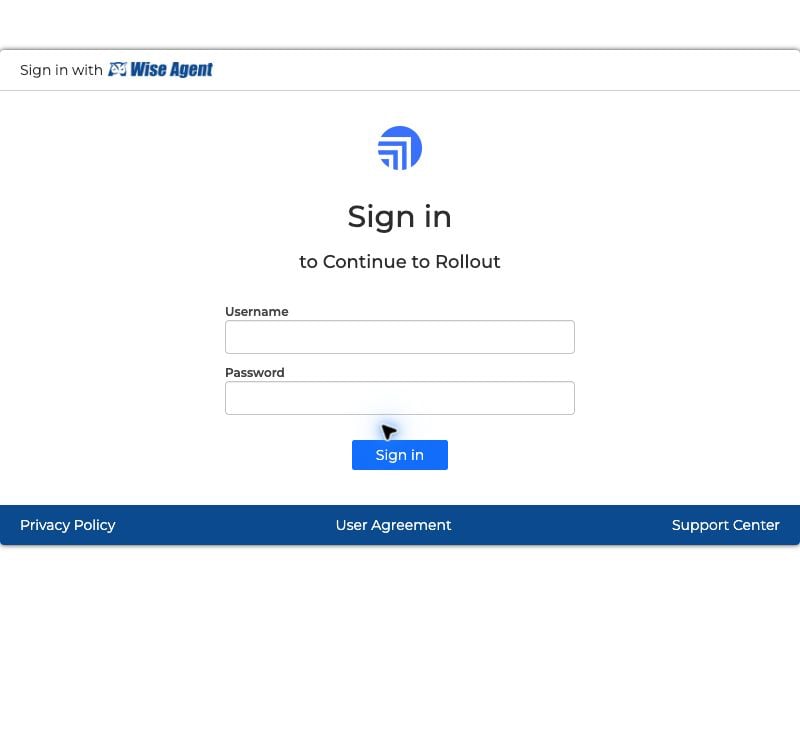
In the secure Wise Agent window that opens, sign in with the Wise Agent account you want to connect.
3

Review and approve access

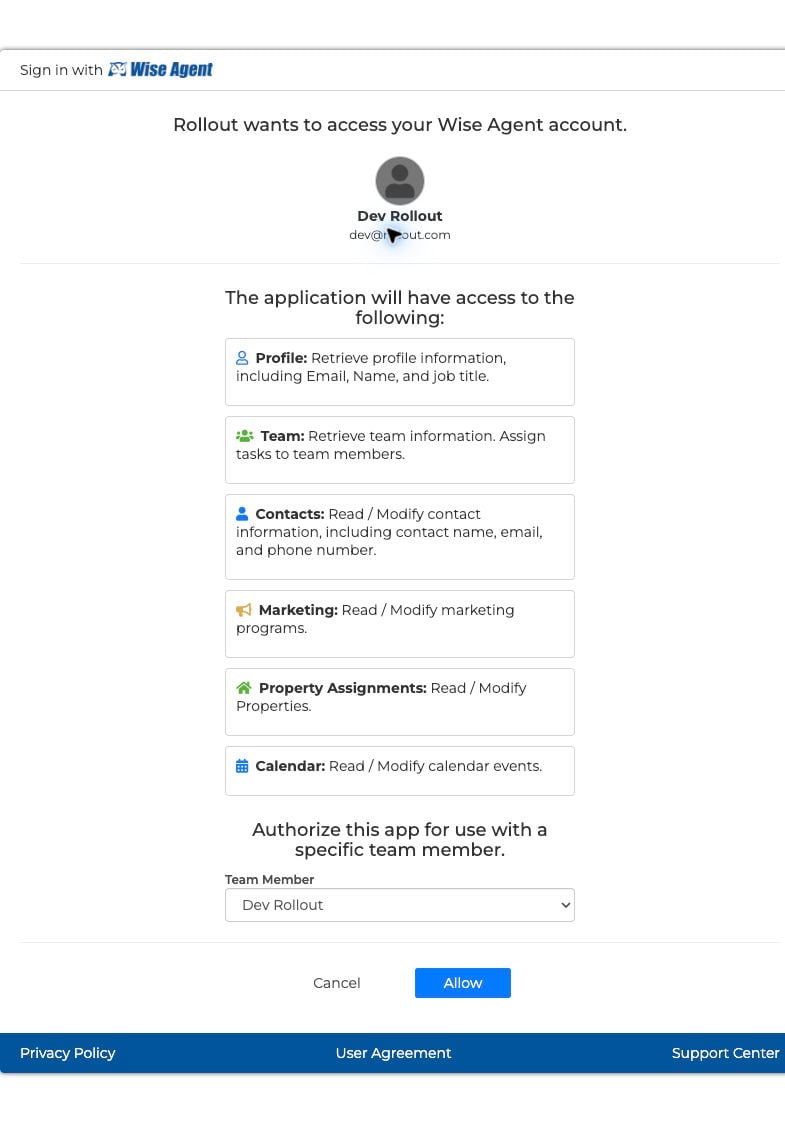
Review the requested permissions, then approve the connection. The window closes and returns you to the product.Your Wise Agent account is now connected.