

Let’s connect your account
1
Confirm the Constant Contact account
Sign in to Constant Contact directly and confirm that you can access the account and contacts you want to connect. The same account must be used when Constant Contact asks you to authorize Rollout.
Open Constant Contact
Sign in to the Constant Contact account you want to connect
2
Open Constant Contact
In the product you are connecting, choose Constant Contact, then select Connect Account.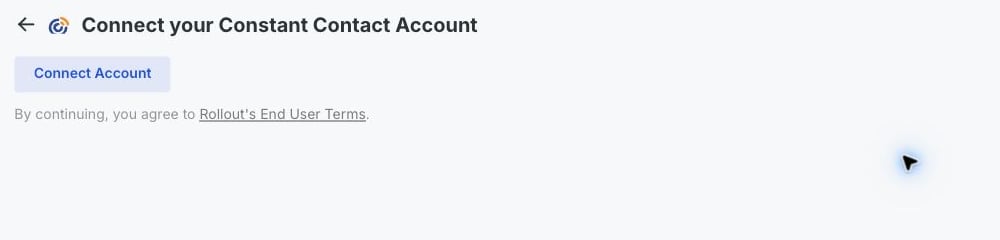
3
Sign in to the correct account
Enter your Constant Contact username, select Next, then enter your password and select Verify.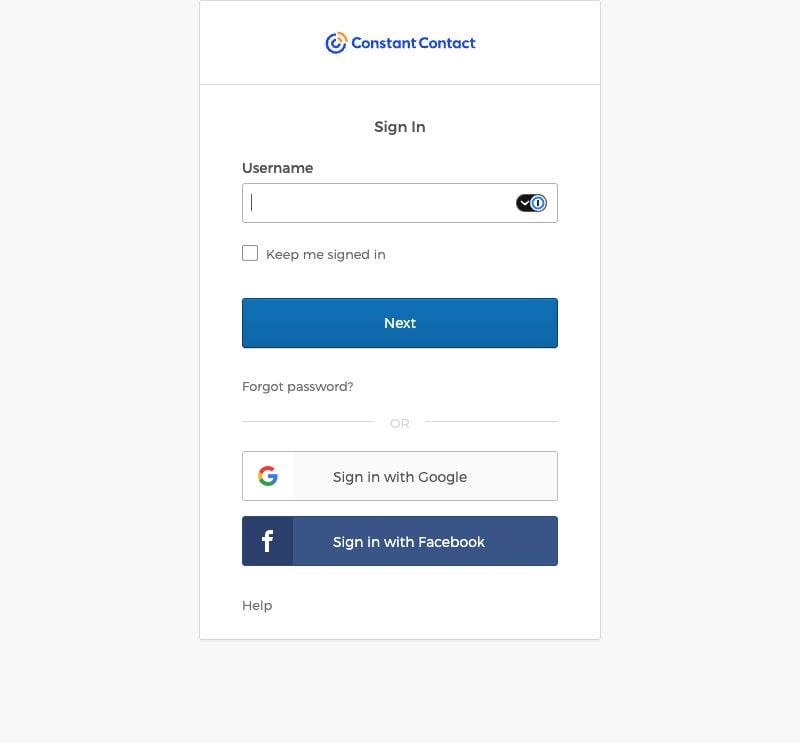
4
Authorize the connection
Review the access requested by Rollout, then select Allow Access.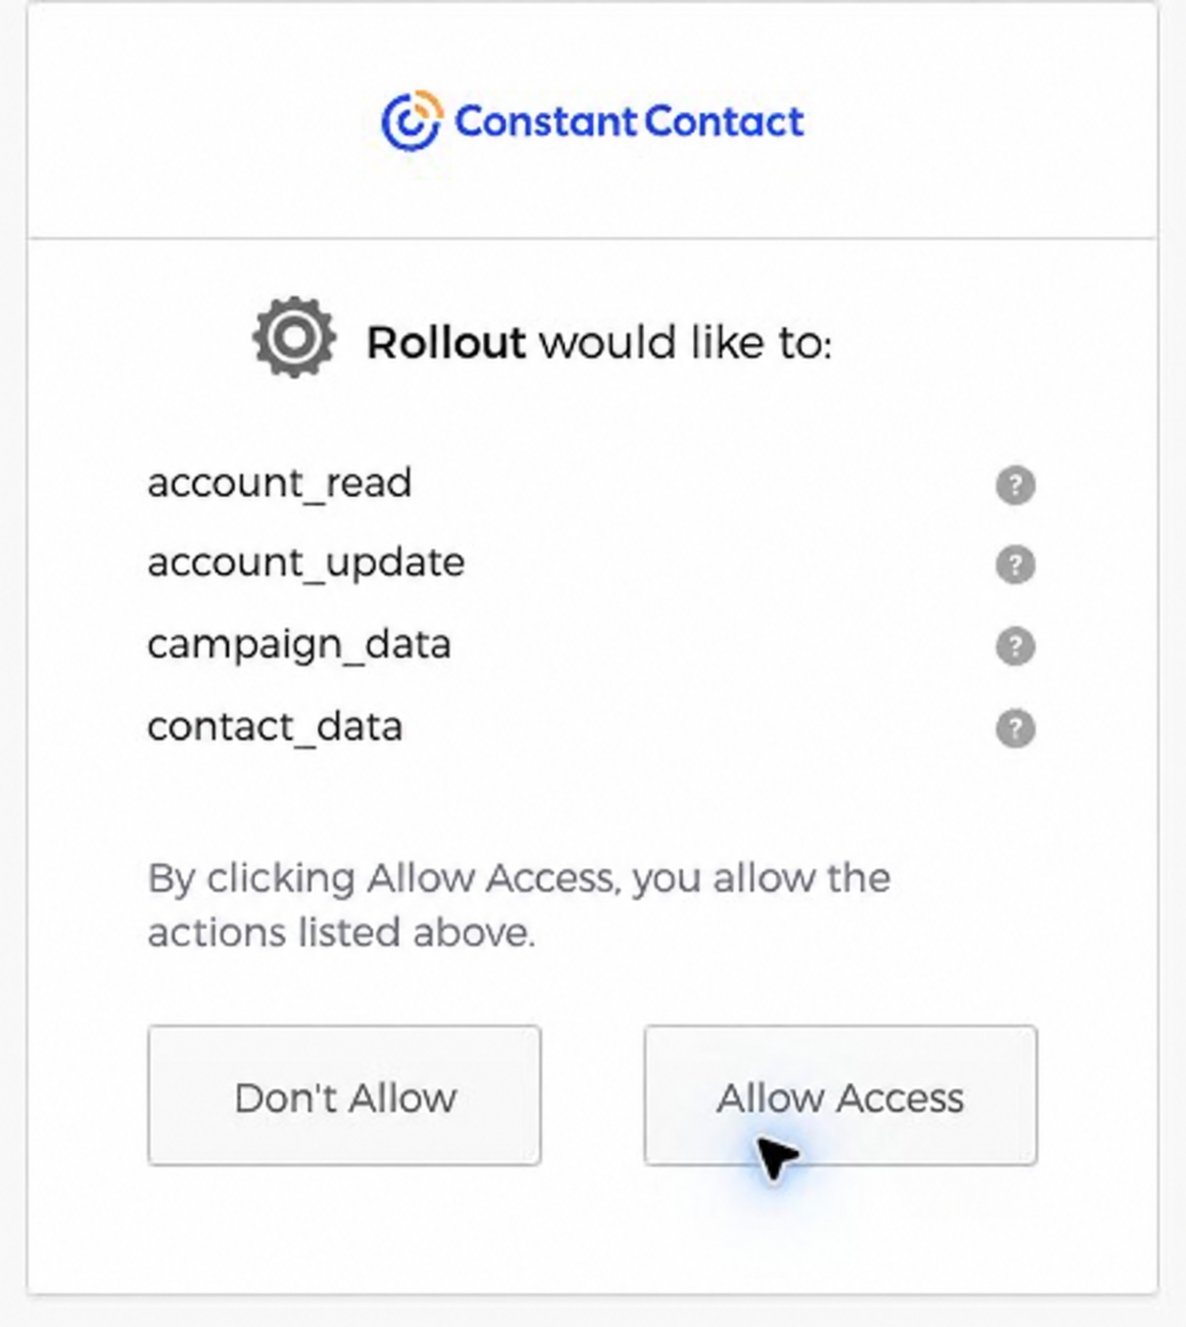
If the connection does not finish
The Constant Contact page did not open
The Constant Contact page did not open
Allow pop-ups for the product you are connecting, then select Connect Account again.
The product still shows Constant Contact as disconnected
The product still shows Constant Contact as disconnected
Return to the original product tab and wait a few seconds. If it still does not update, close the Constant Contact tab and start the connection again.