> ## Documentation Index
> Fetch the complete documentation index at: https://rollout.com/docs/llms.txt
> Use this file to discover all available pages before exploring further.
# Constant Contact
> Sign in to Constant Contact and approve access to connect your account.
## Before users connect: create the OAuth application
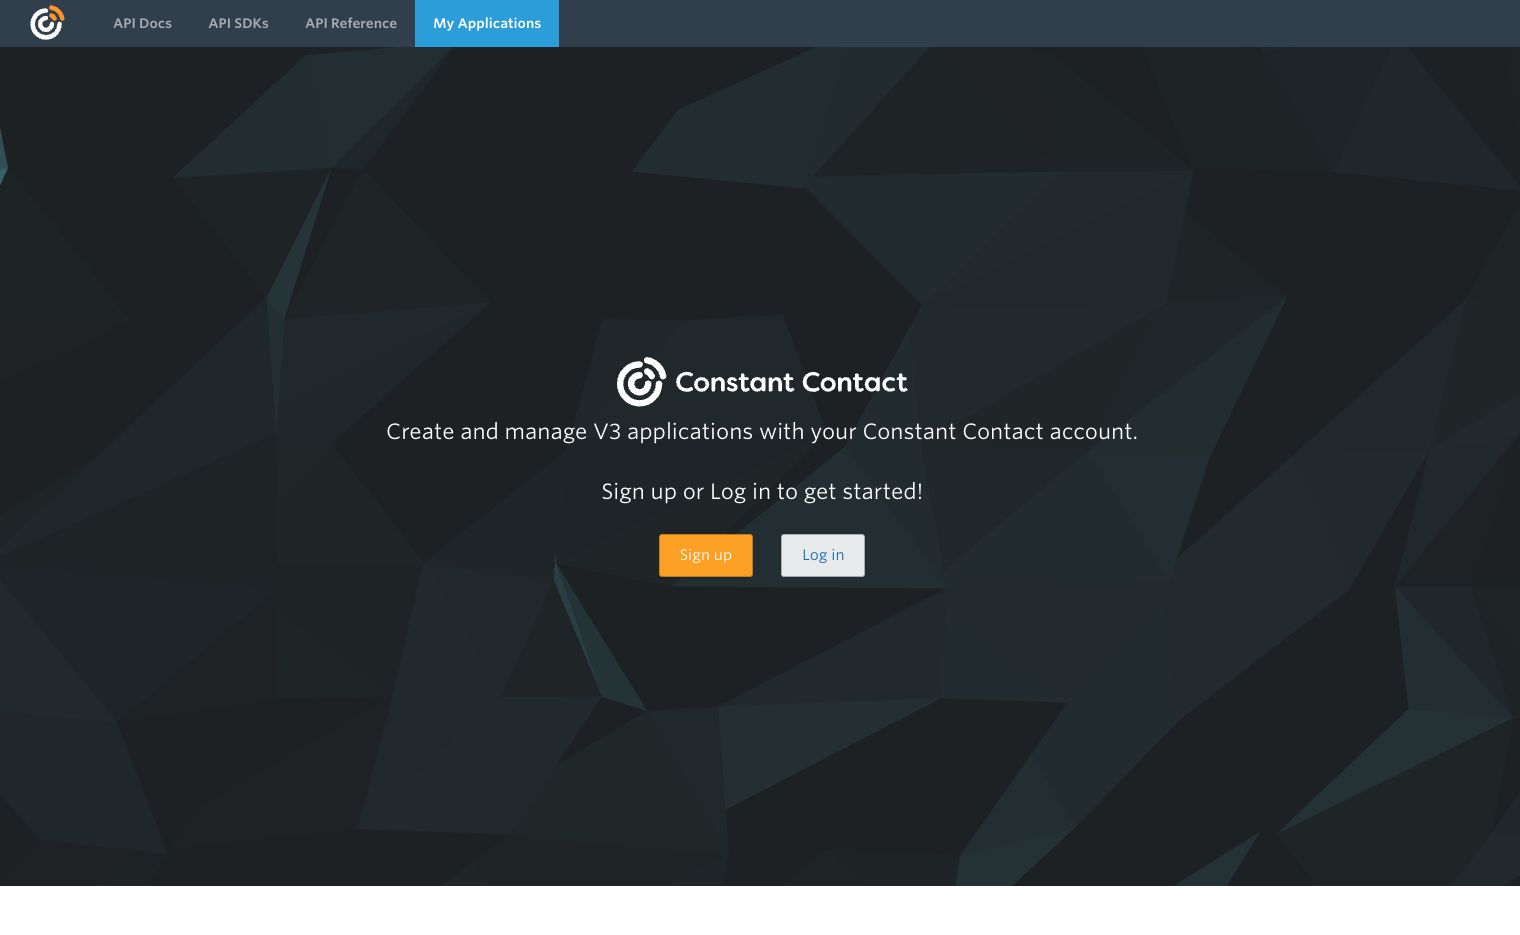
Open the [Constant Contact V3 Developer Portal](https://v3.developer.constantcontact.com/), select **My Applications**, then select **New Application**.
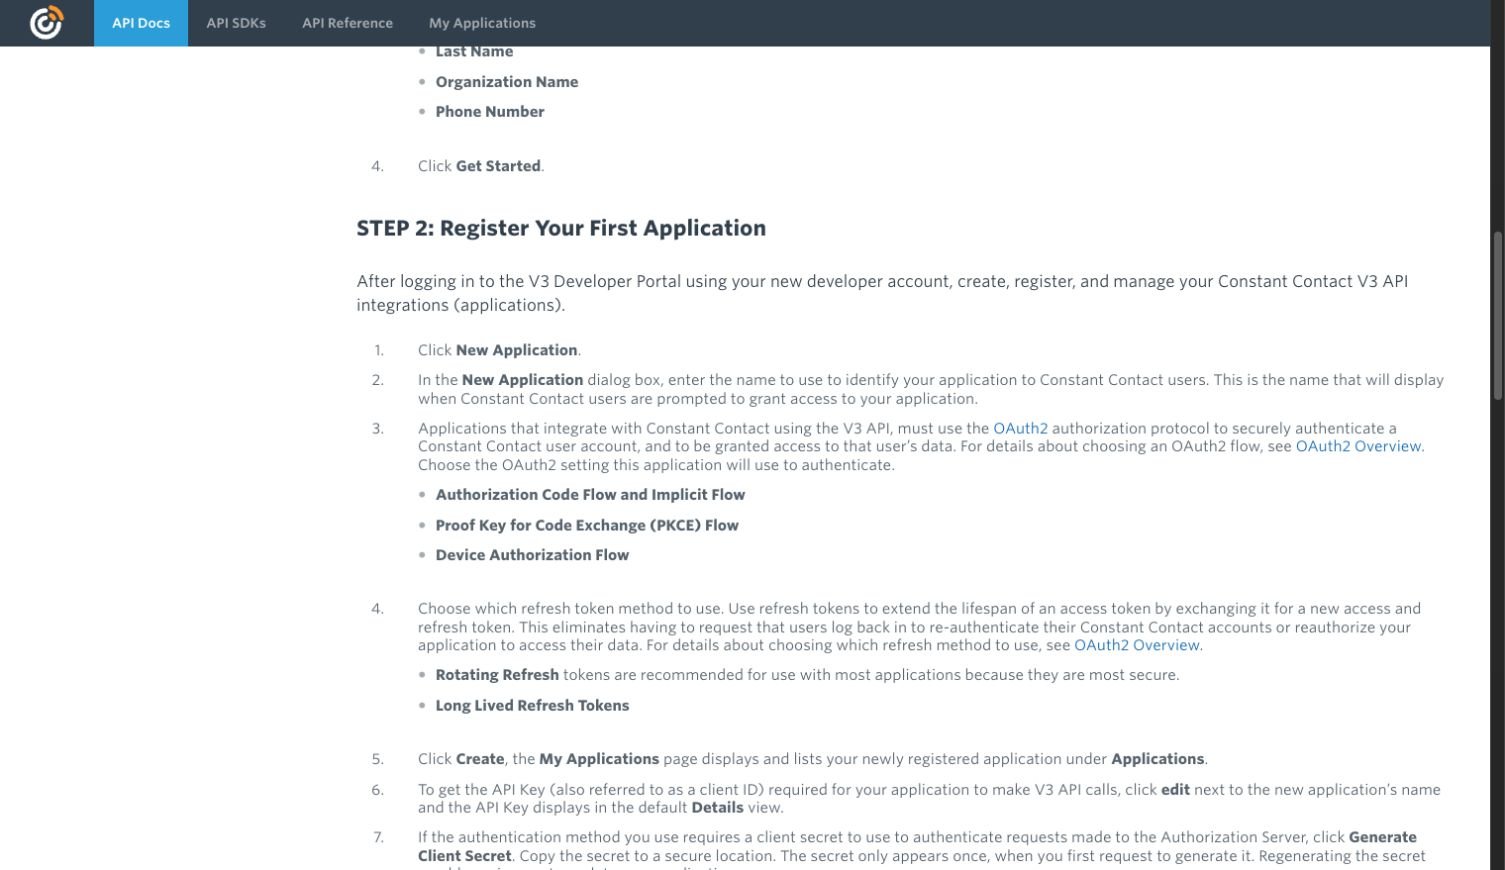
 Name the application after the product you are connecting, choose **OAuth2**, and use the **Authorization Code Flow**. Choose rotating refresh tokens unless your implementation requires otherwise.
 Add this production redirect URI:
```text theme={null}
https://universal.rollout.com/api/oauth/redirect
```
Enable these scopes:
```text theme={null}
offline_access account_read account_update contact_data campaign_data
```
The `offline_access` scope is required for refresh tokens.
On **My Applications**, select **Edit** for the application. Copy the **API Key**. This is the OAuth Client ID. Then select **Generate Client Secret** and copy the secret immediately.
Enter both values in the Constant Contact OAuth configuration in Rollout. The portal only displays the Client Secret when it is generated.
See Constant Contact's [official Quick Start Guide](https://developer.constantcontact.com/api_guide/getting_started.html#step-2-register-your-first-application) for the current application registration steps.
## Connect a Constant Contact account
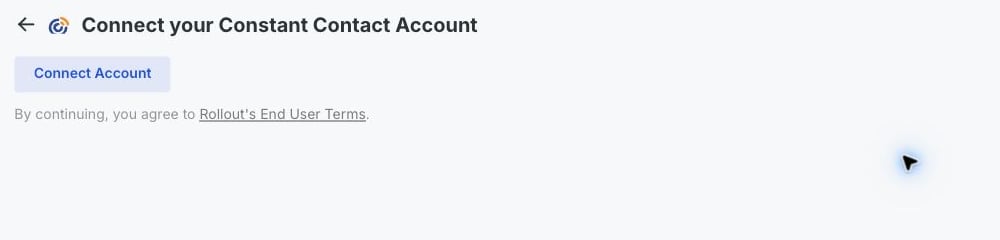
In the connection window, select **Connect Account**.
In the secure Constant Contact window that opens, sign in with the account you want to connect.
Review the requested access, then select **Allow**. The window closes and returns you to the product.
Your Constant Contact account is now connected.
Add this production redirect URI:
```text theme={null}
https://universal.rollout.com/api/oauth/redirect
```
Enable these scopes:
```text theme={null}
offline_access account_read account_update contact_data campaign_data
```
The `offline_access` scope is required for refresh tokens.
On **My Applications**, select **Edit** for the application. Copy the **API Key**. This is the OAuth Client ID. Then select **Generate Client Secret** and copy the secret immediately.
Enter both values in the Constant Contact OAuth configuration in Rollout. The portal only displays the Client Secret when it is generated.
See Constant Contact's [official Quick Start Guide](https://developer.constantcontact.com/api_guide/getting_started.html#step-2-register-your-first-application) for the current application registration steps.
## Connect a Constant Contact account
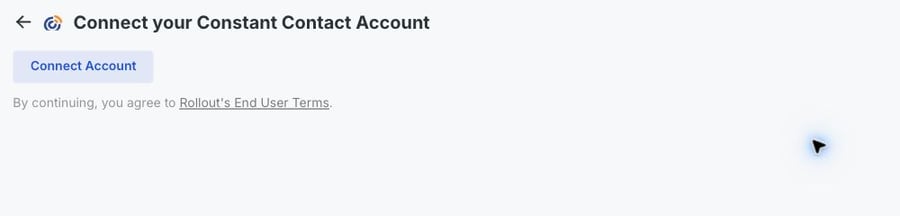
In the connection window, select **Connect Account**.
In the secure Constant Contact window that opens, sign in with the account you want to connect.
Review the requested access, then select **Allow**. The window closes and returns you to the product.
Your Constant Contact account is now connected.